Mounting the Nano
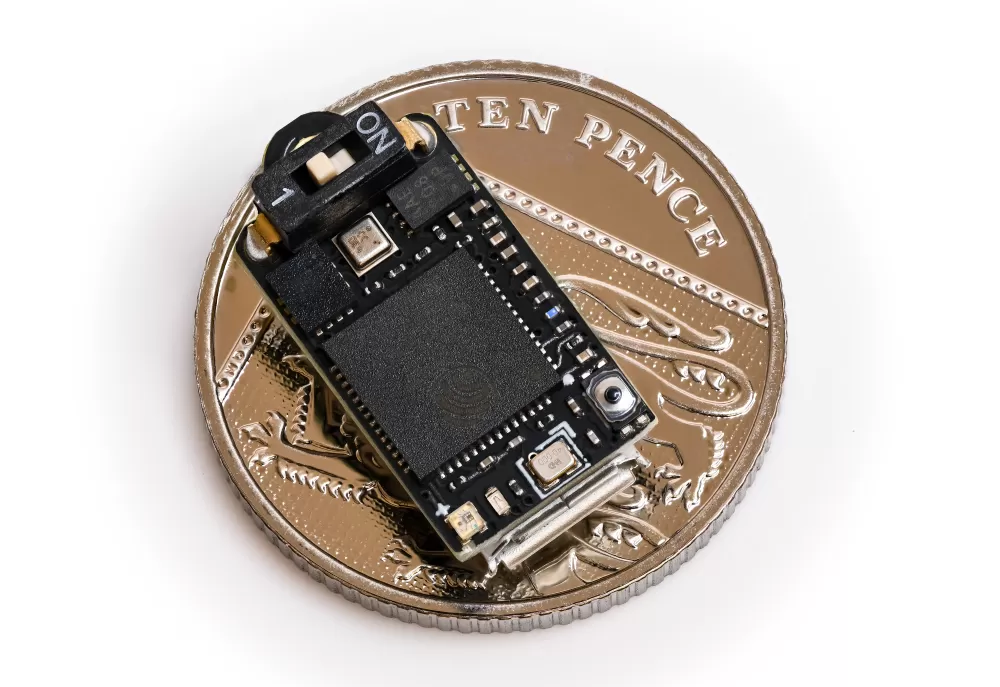
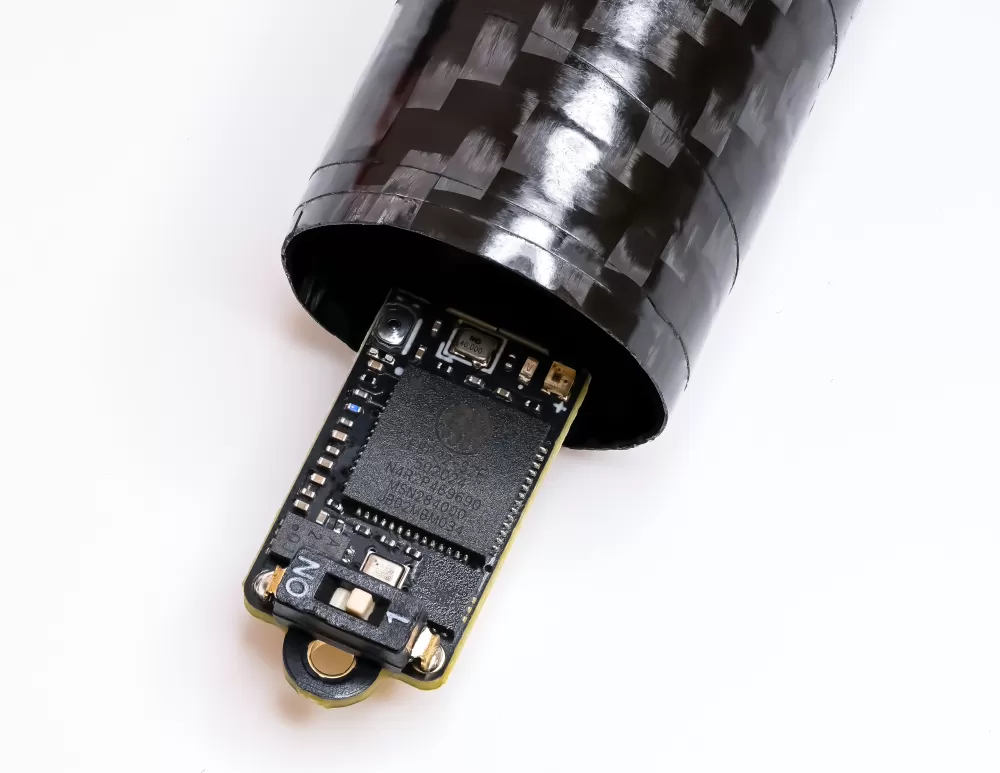
Unlike larger altimeters, the Nano does not come in a case. It is a tiny, light board, so it is meant to be mounted directly inside your rocket. In most builds that means either securing it in an electronics bay or attaching it to the shock cord, and both methods are covered below.
To make fixing it into an electronics bay easy, we provide a 3D printable cover that holds the Nano neatly in place against a bulkhead or bay wall. You can print your own from the file we supply.
The file is available here if you would like to print one.
Make sure it can breathe!
The most important factor is making sure the altimeter can sense the air pressure changes outside the rocket. It needs to breathe, so you will need a few small vent holes in your rocket to let it do that.
There is a tool on this page to help you work out what size holes you will need.
Ideally you want more than one or two holes. At least three holes evenly spaced around your body tube is what to aim for. Try to avoid placing them too close to the nose cone, joints or transitions, as those can create turbulence in the air and affect your readings. A good rule is to keep them at least three times your body tube diameter away from the base of the nose cone.
Drilling cardboard tubes can cause some fraying, so you may want to reinforce the hole with a little CA glue afterwards and sand it for a cleaner finish.
Sand the surface of your rocket afterwards to make sure it is completely smooth.
Pressure sensors are light sensitive
Because the Nano has no enclosing case, its pressure sensor is a little more exposed to light than a cased altimeter would be, so this is worth keeping in mind however you mount it.
If light can flash onto the sensor it can create false pressure spikes, which show up in the output. Our True Path pressure filtering does a good job of removing them, but it is still possible for them to affect the charts a little.
Painting the inside of your payload section black and keeping the vent holes as small as the calculator allows are both great ways to cut down the risk of stray light reaching the sensor.
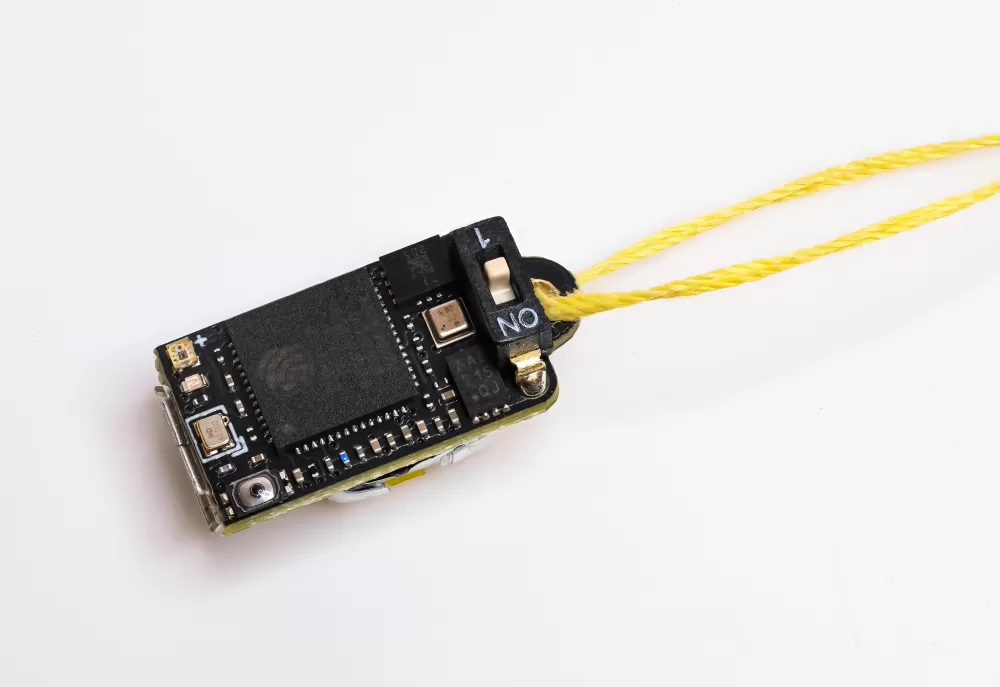
Attach it to the shock cord
You can attach the Nano to your shock cord. It is so small and light that it adds next to nothing to the cord. If you use this method, try to keep it above the parachute when packed, to give it the most protection from the motor's hot ejection gases.
This is a great, easy way to get flying, though it does have some downsides.
- It is not isolated from the ejection charge, which can cause pressure spikes (seen as rapid altitude drops) in your chart, although it does not matter hugely.
- It is not held in a fixed position. On Rev4 and later boards the orientation and angle figures rely on the altimeter staying put, so they will not be reliable if it can swing around on the cord.
- After ejection it is outside the rocket and moving about a lot, which affects its readings and puts it at more risk of damage.
Mount it in a payload section
This is the best method if your rocket allows it. Holding the Nano securely at a fixed orientation gives you the best possible results, and if it sits in its own payload section or electronics bay you can also isolate it from the motor ejection gases.
The simplest way is to use our 3D printed cover to clamp the Nano against a bulkhead or bay wall, but you can equally glue or bolt it in place. Electronics bays are most often made from plywood or fibreglass, and the Nano or its cover will glue or bolt straight onto those with no hassle at all.
Once it is mounted, set the orientation setting to match how the board sits in the rocket so the angle calculations come out correctly. There is more on that on the settings page.
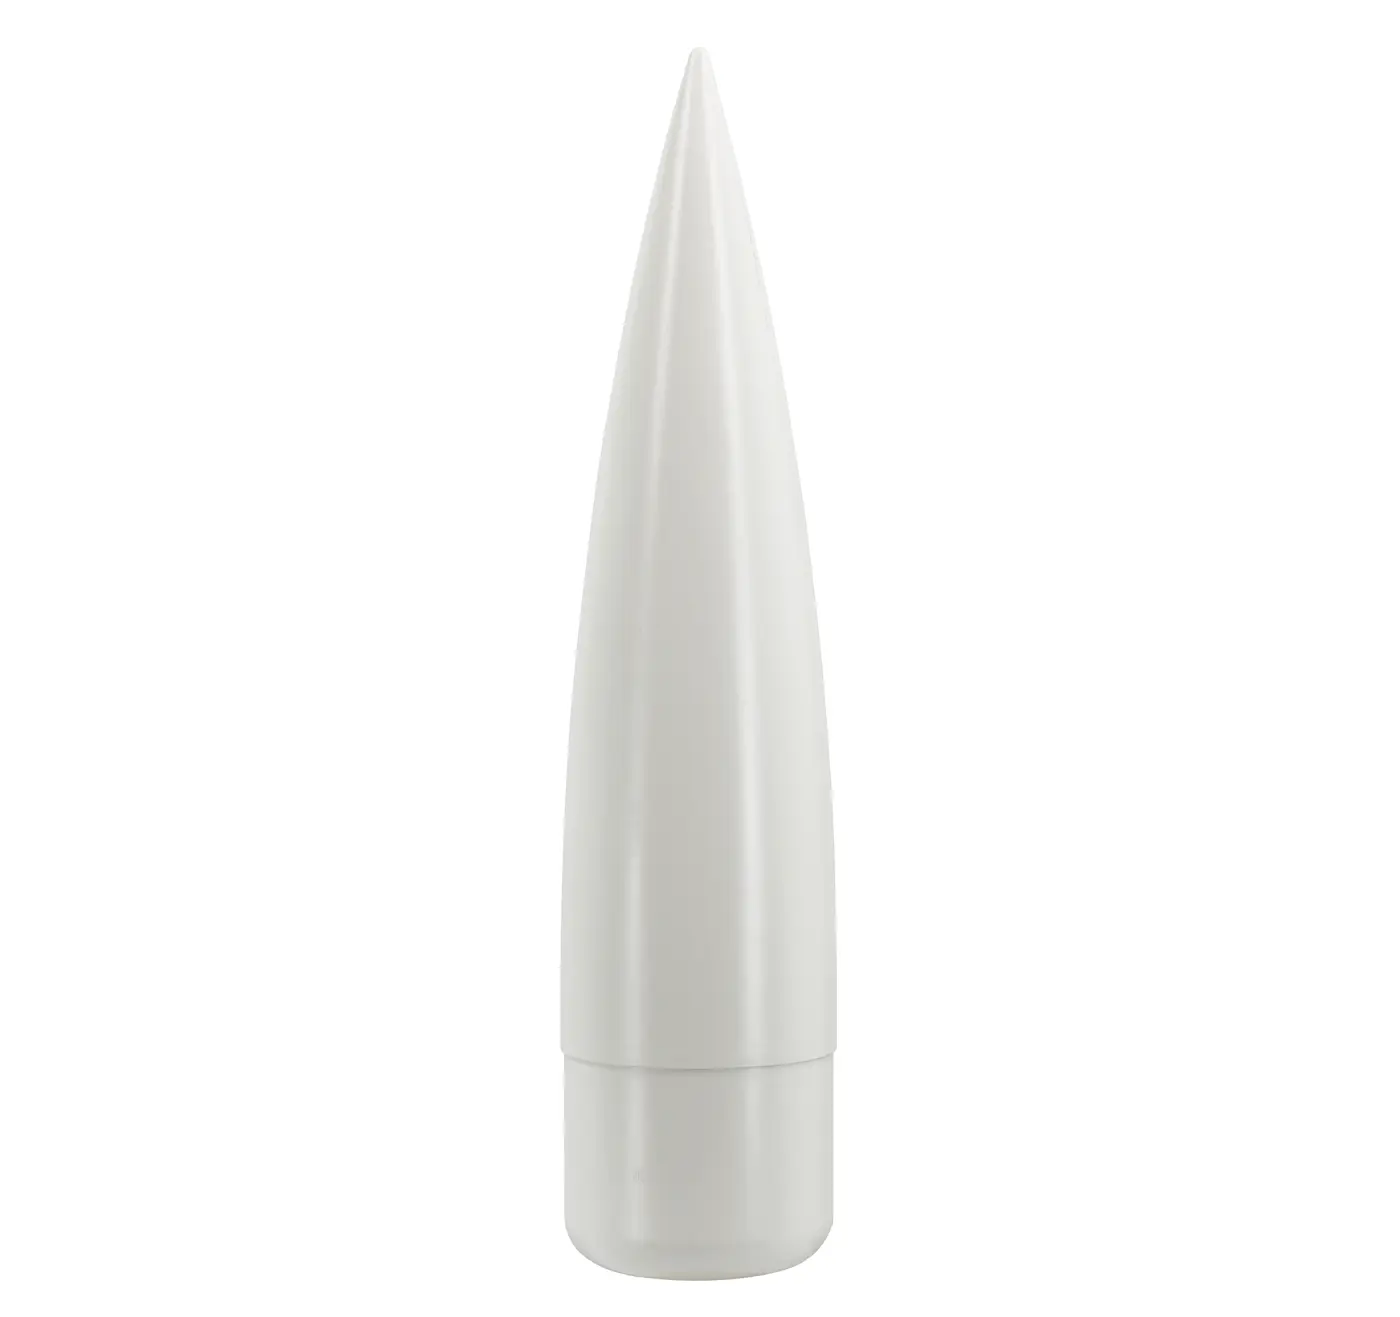
Mount it in the nose cone
We suggest avoiding this method if you can. The nose cone creates a lot of turbulence, so vent holes on or near it could cause accuracy issues for the altimeter.
You could still mount the Nano in the nose cone and place your vent holes further down the body tube, so it remains an option if it suits your build.